


How to Clean, Protect, and Store Your Shotgun After Upland Season
Two years ago I went to hunt Mearns quail with a few buddies. As I often do, I take a couple different shotguns for both fun and insurance of having a backup, in case something goes wrong.
As someone who takes pride in caring for their gear, what happened was a reality check and reminder that negligence of any kind, or any period of time, can yield some negative consequences.
The first day I hunted with a beautiful Rizzini Regal round body in 28 gauge. It's a dandy scatter gun and easy on the eyes. As we wrapped up the day, and as I kenneled my dog Chief, he kicked over a water bottle and a couple splashes landed on the barrel of the gun. I must not have noticed as I cased my gun, put it in my deck drawer and went about my evening.
I rotated guns the next few days and the gun stayed in its case until I arrived home 3 days later.
I always wipe down and do a quick clean on my shotguns before putting them back into the safe. As I took the Rizzini from the case, my heart dropped. A smear of light surface rust had began from the water and freezing temps each night. I was heartbroken.. I'm still waiting for that gun to be refinished and returned to me from the smith.
While this blog may have a couple no-brainers, I'm a firm believer that consistent effort to keep any tool in good working condition is more impactful than a 'annual tune-up'.
Here's a run-down that we hope keeps you from experience like mine.
What you’ll need (recommended cleaning kit)
You don’t need a full gunsmith bench—just the right basics:
Cleaning solvents & cleaners
-
Bore solvent (carbon/powder): Hoppe’s No. 9 (classic), Bore Tech C4 Carbon Remover, or M-Pro 7 Gun Cleaner
-
Plastic wad fouling remover (helpful for high-volume shooting): Bore Tech Shotgun Blend (great for plastic + carbon)
-
CLP (clean/lube/protect) option: Break-Free CLP (solid “one bottle” choice)
Lubes & rust prevention
-
Light oil for moving parts: Remoil, Slip 2000 EWL, CLP, or similar quality gun oil
-
Corrosion inhibitor for storage: Eezox or a dedicated “protectant” oil (excellent for long-term)
Tools
-
Cleaning rod or pull-through (12/20/28 gauge as needed)
-
Bore brush + mop + patches (correct gauge)
-
Nylon brush / old toothbrush
-
Cotton swabs or small detail swabs
-
Microfiber rags
-
Wooden toothpicks (for edges/corners)
-
A gun mat or towel
-
Silicone-treated gun sock (optional but great)
-
Dehumidifier (GoldenRod) or desiccant packs for your safe
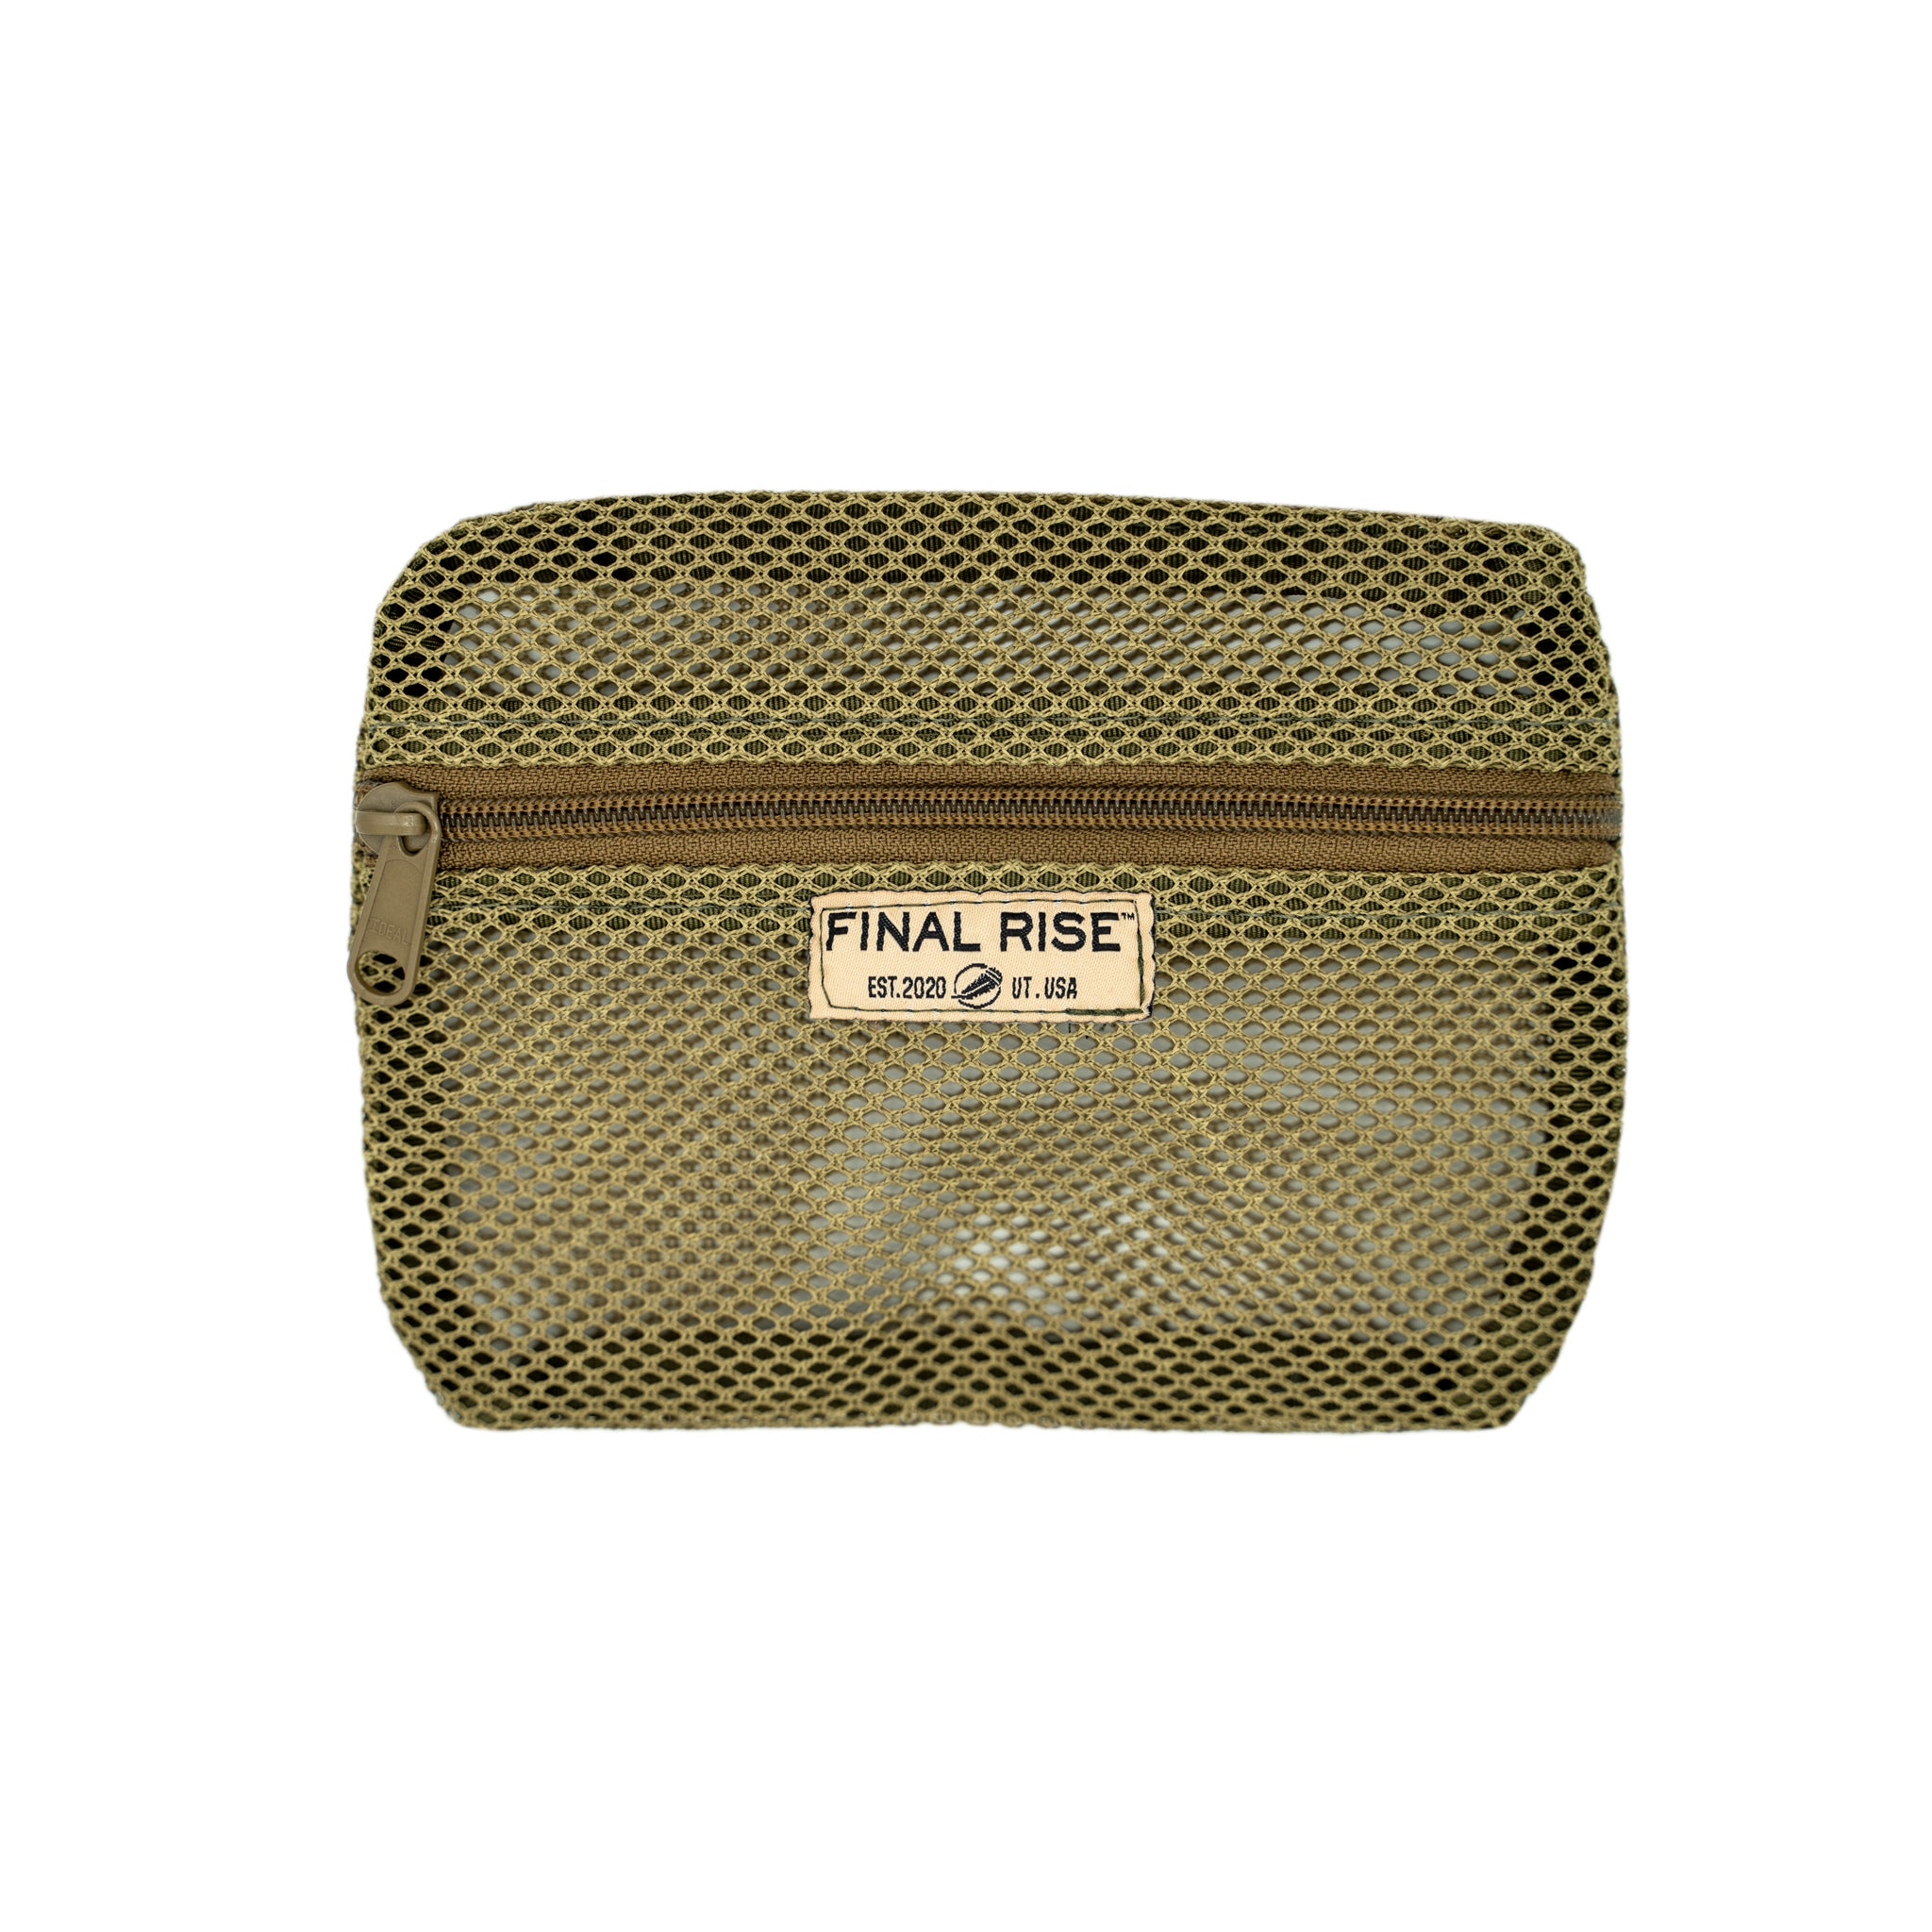
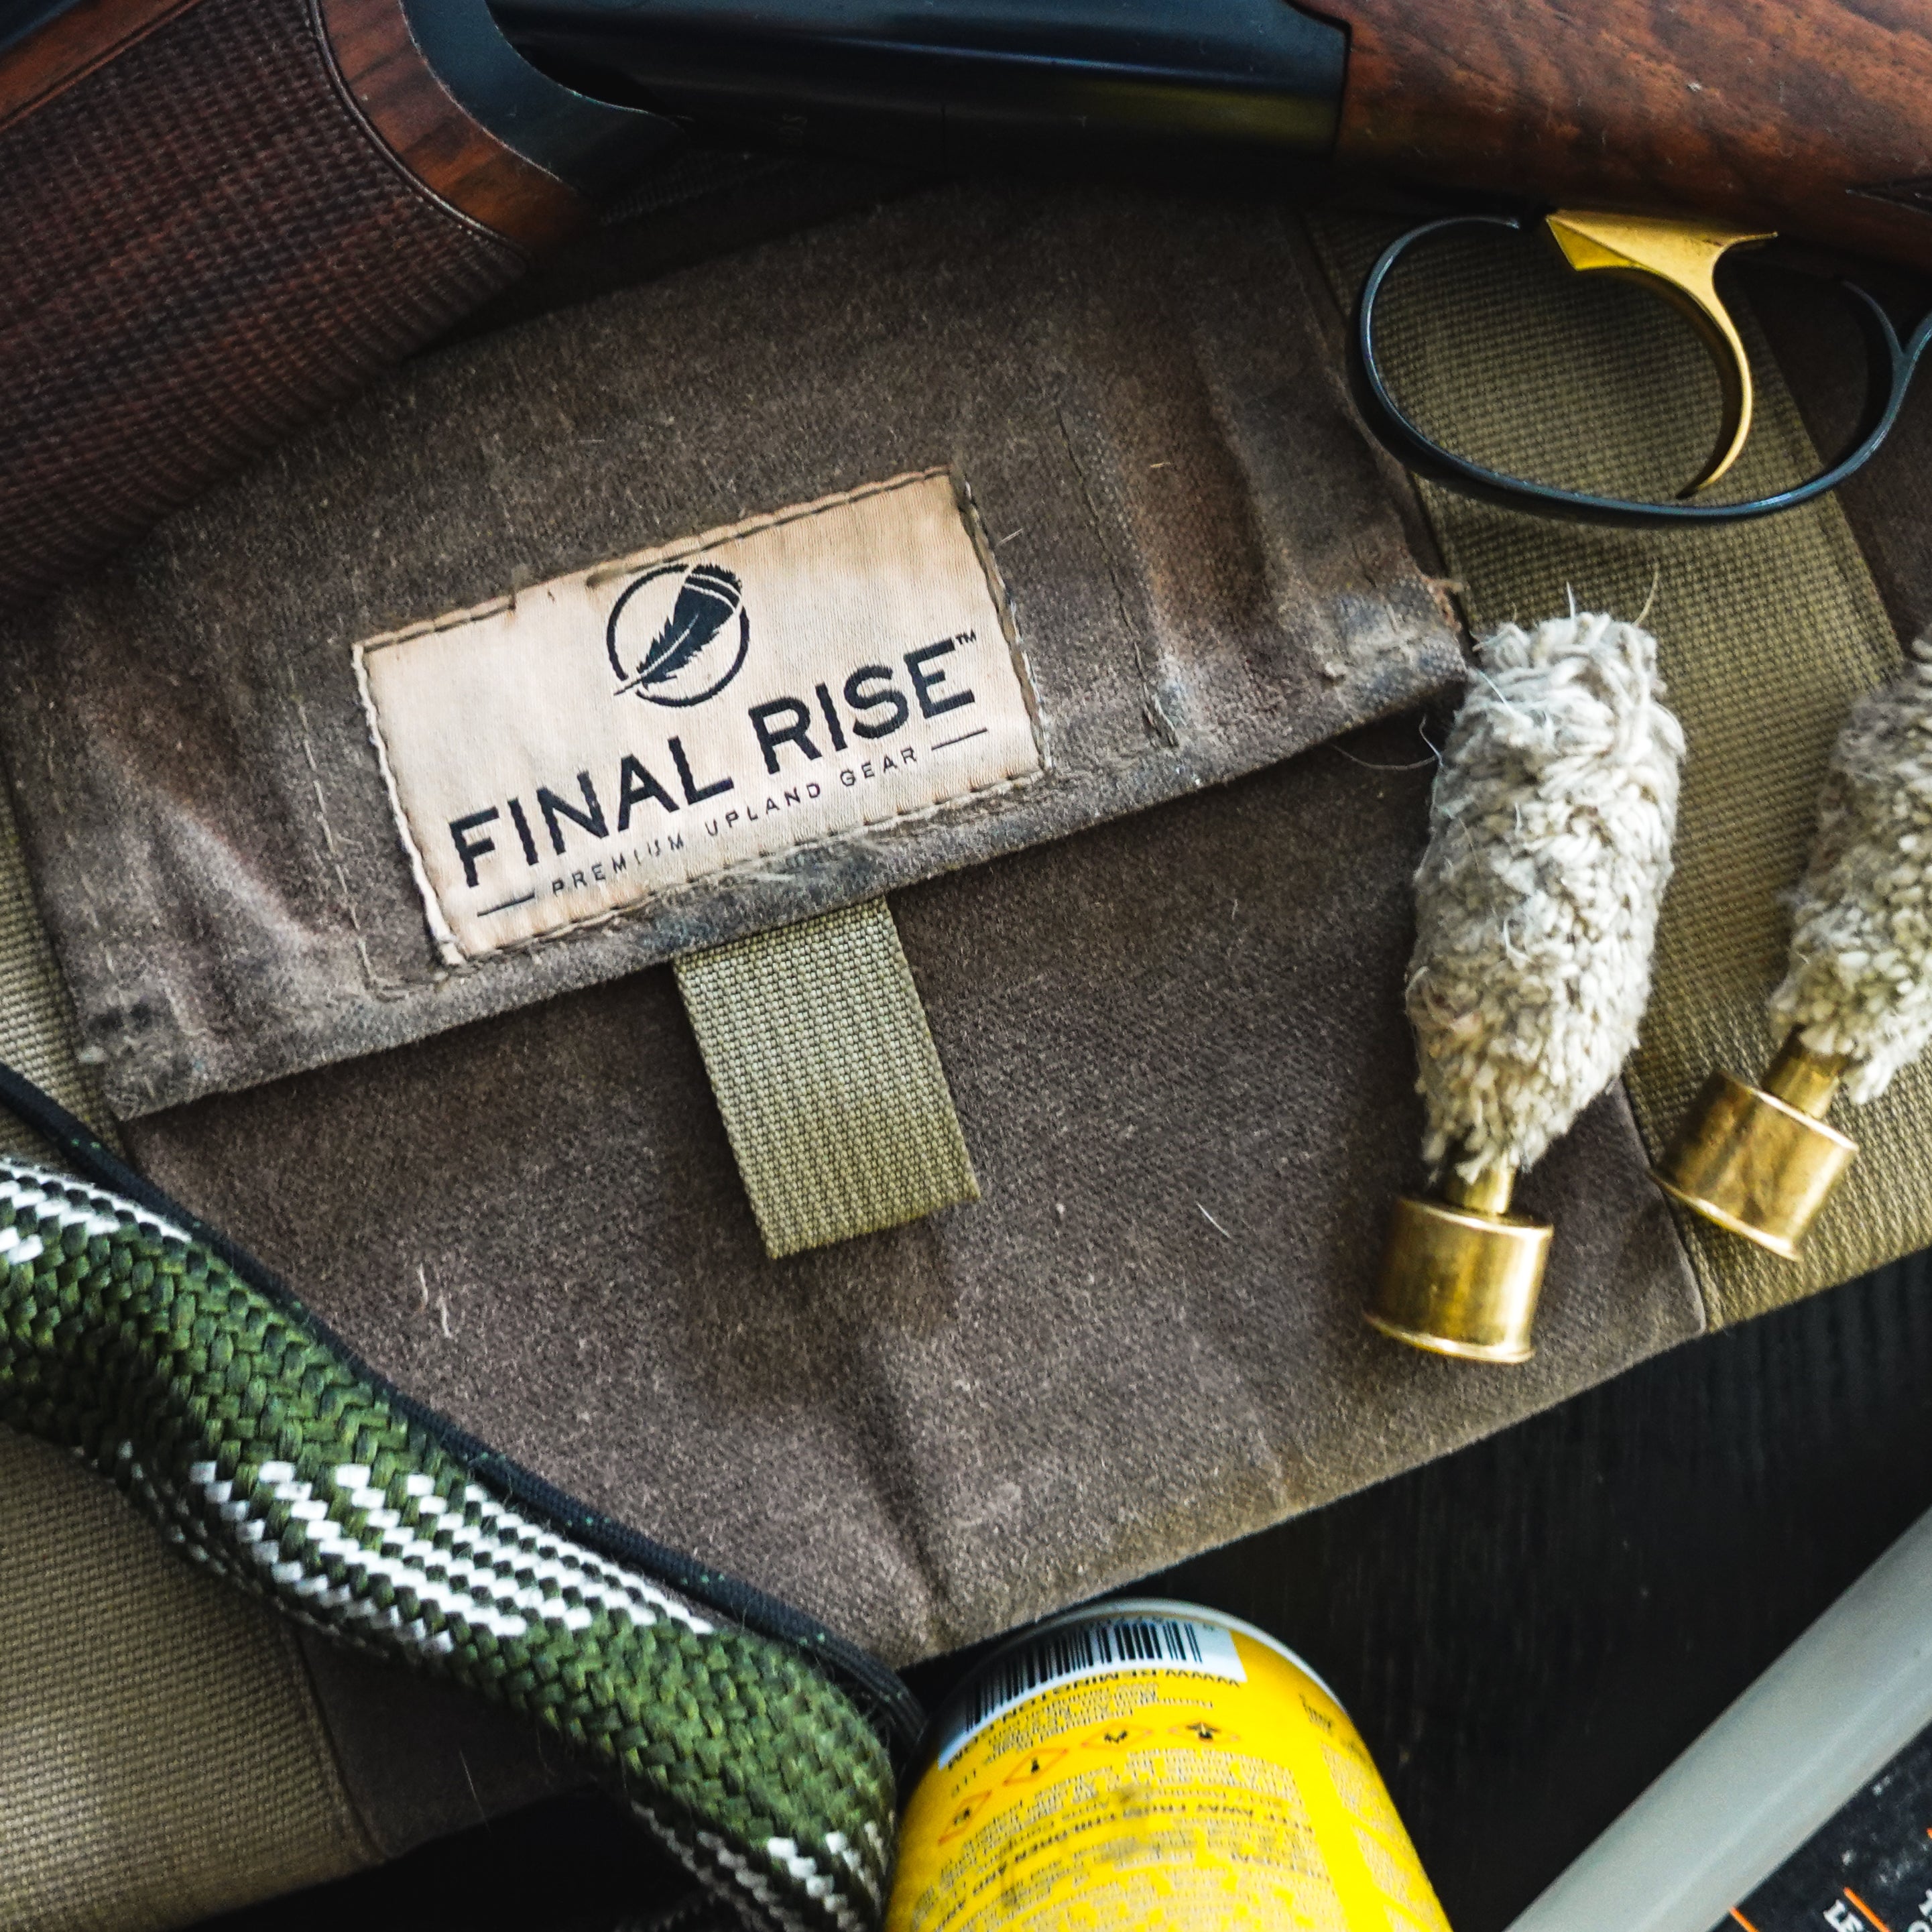
Tip: keep a compact cleaning roll in your truck during season (rag, small oil, swabs, pull-through). A small organizer pouch (like our mesh pouches or even a side pouch) kept in the truck is a great way to keep up on cleaning while on the road.
Step-by-step postseason shotgun cleaning (with the “why” behind each step)
Step 1: Safety first—unload and verify twice
-
Point in a safe direction.
-
Remove shells from chamber and magazine.
-
Lock the action open and visually + physically verify empty.
Why - Because postseason cleaning often happens tired, late, and distracted—and complacency is when accidents happen. Treat every firearm like it's loaded at all times.
Step 2: Quick exterior wipe-down before disassembly
-
Wipe the entire exterior with a dry microfiber rag first. Spraying oil on a rag and rubbing it into dust on your gun doesn't clean it. It just mixes dirt around.
-
If it's wet, make sure to dry the gun entirely before applying a light layer of oil
Why - You’re removing surface moisture and grit before it gets dragged into the action during takedown—and you’re stopping rust before it starts.
Step 3: Field strip (basic takedown)
-
Follow your shotgun’s manual (pump, semi-auto, O/U, SxS differ).
-
Generally: remove barrel, forend, and access the action/bolt area as designed.
-
Keep parts organized on a towel.
Why - Postseason storage problems usually start in hidden places: under the forend, around the receiver face, on the magazine tube, and inside the action.
Step 4: Clean the bore (barrel interior)
-
Run a bore snake or dry patch through first to remove loose debris.
-
Apply bore solvent, then run a gauge-appropriate bore brush through 10–15 strokes.
-
Let solvent sit 5–10 minutes (follow product directions).
-
Pull the bore snake or run a patch through to remove debries.
-
Finish with a very light oil patch for storage.
Why - Powder fouling attracts moisture, and plastic wad residue can build up over a season. A clean bore prevents corrosion and keeps patterns consistent.
Tip for stubborn barrel fouling:
-
Wrap a small amount of 0000 steel wool around your bore brush and apply a light amount of oil to the steel wool. Scrub as needed in the areas of your barrel that need the extra scrub.
Step 5: Clean the chambers
-
Use a chamber brush (or appropriate brush size) with solvent.
-
Scrub the chamber area.
-
Patch clean.
Why - A dirty chamber can cause sticky extraction, inconsistent cycling in semi-autos or double guns with ejectors or overly tight actions where the shells can't seat due to build up.
Tip for cleaning chamber:
- Because your chamber is slightly larger than the bores themselves, you may need to increase the bore brush size Example, use a 12 bore brush on a 20 gauge. This helps ensure you have enough pressure form the brush to scrub and clean.
Step 6: Action and receiver cleaning (carbon, grit, and old oil)
What to do
-
Brush or blow out any debris or build up inside the action
-
Oil any moving parts and inspect firing pin ends for pitting or excessive wear
-
Use swabs for tight areas.
-
Wipe everything dry and do not oil excessively
Why - Old oil turns into varnish-like sludge. Combine that with dust and you get sluggish cycling, light strikes, and feeding issues—often right when birds are flushing wild.
If your gun ran in dusty conditions, do an extra pass here. Dust + oil is basically grinding paste.
Step 7: Inspect wear points and springs
What to do
-
Check for:
-
Rust freckles (especially under forend / around receiver face)
-
Cracks in stock (around tang areas)
-
Loose screws (recoil can back them out)
-
O-rings (some semi-autos) and seals
Why - Postseason is the best time to catch small problems before they become expensive ones—or ruin a hunt.
Step 8: Lubricate correctly (less is more)
-
Apply a thin film of oil to:
-
Rails / contact points
-
Hinge pins (break-actions)
-
Fore-end slide contact surfaces (pumps/semi-autos)
-
Wipe off excess—if you can see it pooling, it’s too much.
- Remove chokes, if using removable chokes and lightly oil.
Why - Too much oil migrates into wood, attracts grit, and can gum up over long storage. Proper lubrication is about a thin protective layer, not a bath. Removing the chokes ensures they don't seize up.
Product picks
-
Slip 2000 EWL = excellent light oil for function
-
Break-Free CLP = good all-in-one if you want simplicity
Step 9: Add corrosion protection for long-term storage
-
Wipe exterior metal with a corrosion inhibitor (light film).
-
Consider a storage-focused protectant (not just “lube”).
Why
Gun safes are not perfectly dry environments. Temperature swings + humidity = condensation risk. Corrosion inhibitors are cheap insurance.
Product recommendation
-
Eezox (excellent for long-term rust prevention)
Step 10: Store it the right way (safe vs case)
If storing in a gun safe
Do this
-
Use a GoldenRod or desiccant packs
-
Keep guns spaced so air can circulate
-
Consider a silicone-treated gun sock
Why - Controlled humidity prevents rust. Airflow matters more than people think. The gun sock also protects the guns from 'safe wear', where you could ding or bump a gun with another.
If storing in a gun case (not ideal long-term)
Do this
-
Avoid leaving it in foam-lined cases for months.
-
If you must: use a gun sock inside the case and store in a low-humidity area.
Why - Foam cases can trap moisture against metal—rust can start quietly and spread fast.
Common postseason mistakes to avoid
-
Storing the gun dirty (“I’ll do it later” becomes “why is this rusted?”)
-
Over-oiling (attracts grime + can gum up)
-
Leaving it in a soft/foam case long-term (moisture trap)
-
Skipping the chamber/forcing cone (sticky extraction + cycling issues)
-
Ignoring humidity control in the safe
Quick postseason checklist (save this)
-
✅ Unload + verify empty
-
✅ Exterior wipe
-
✅ Field strip
-
✅ Clean bore + chamber
-
✅ Clean action/receiver
-
✅ Inspect wear points
-
✅ Light lube
-
✅ Corrosion protection wipe
-
✅ Store with humidity control
FAQ: Postseason shotgun storage
How often should I deep clean my shotgun?
At minimum: end of season and any time it gets soaked, snowed on heavily, or exposed to road salt spray. A quick wipe-down after every hunt helps, but postseason is the “real reset.”
Should I store my shotgun barrel-down?
Most modern guns are fine stored upright in a safe rack, but avoid heavy oil that can migrate. The bigger factor is humidity control and not storing it wet.
What’s the best way to prevent rust in a safe?
A GoldenRod + desiccant combo, plus a light corrosion inhibitor film on metal surfaces.
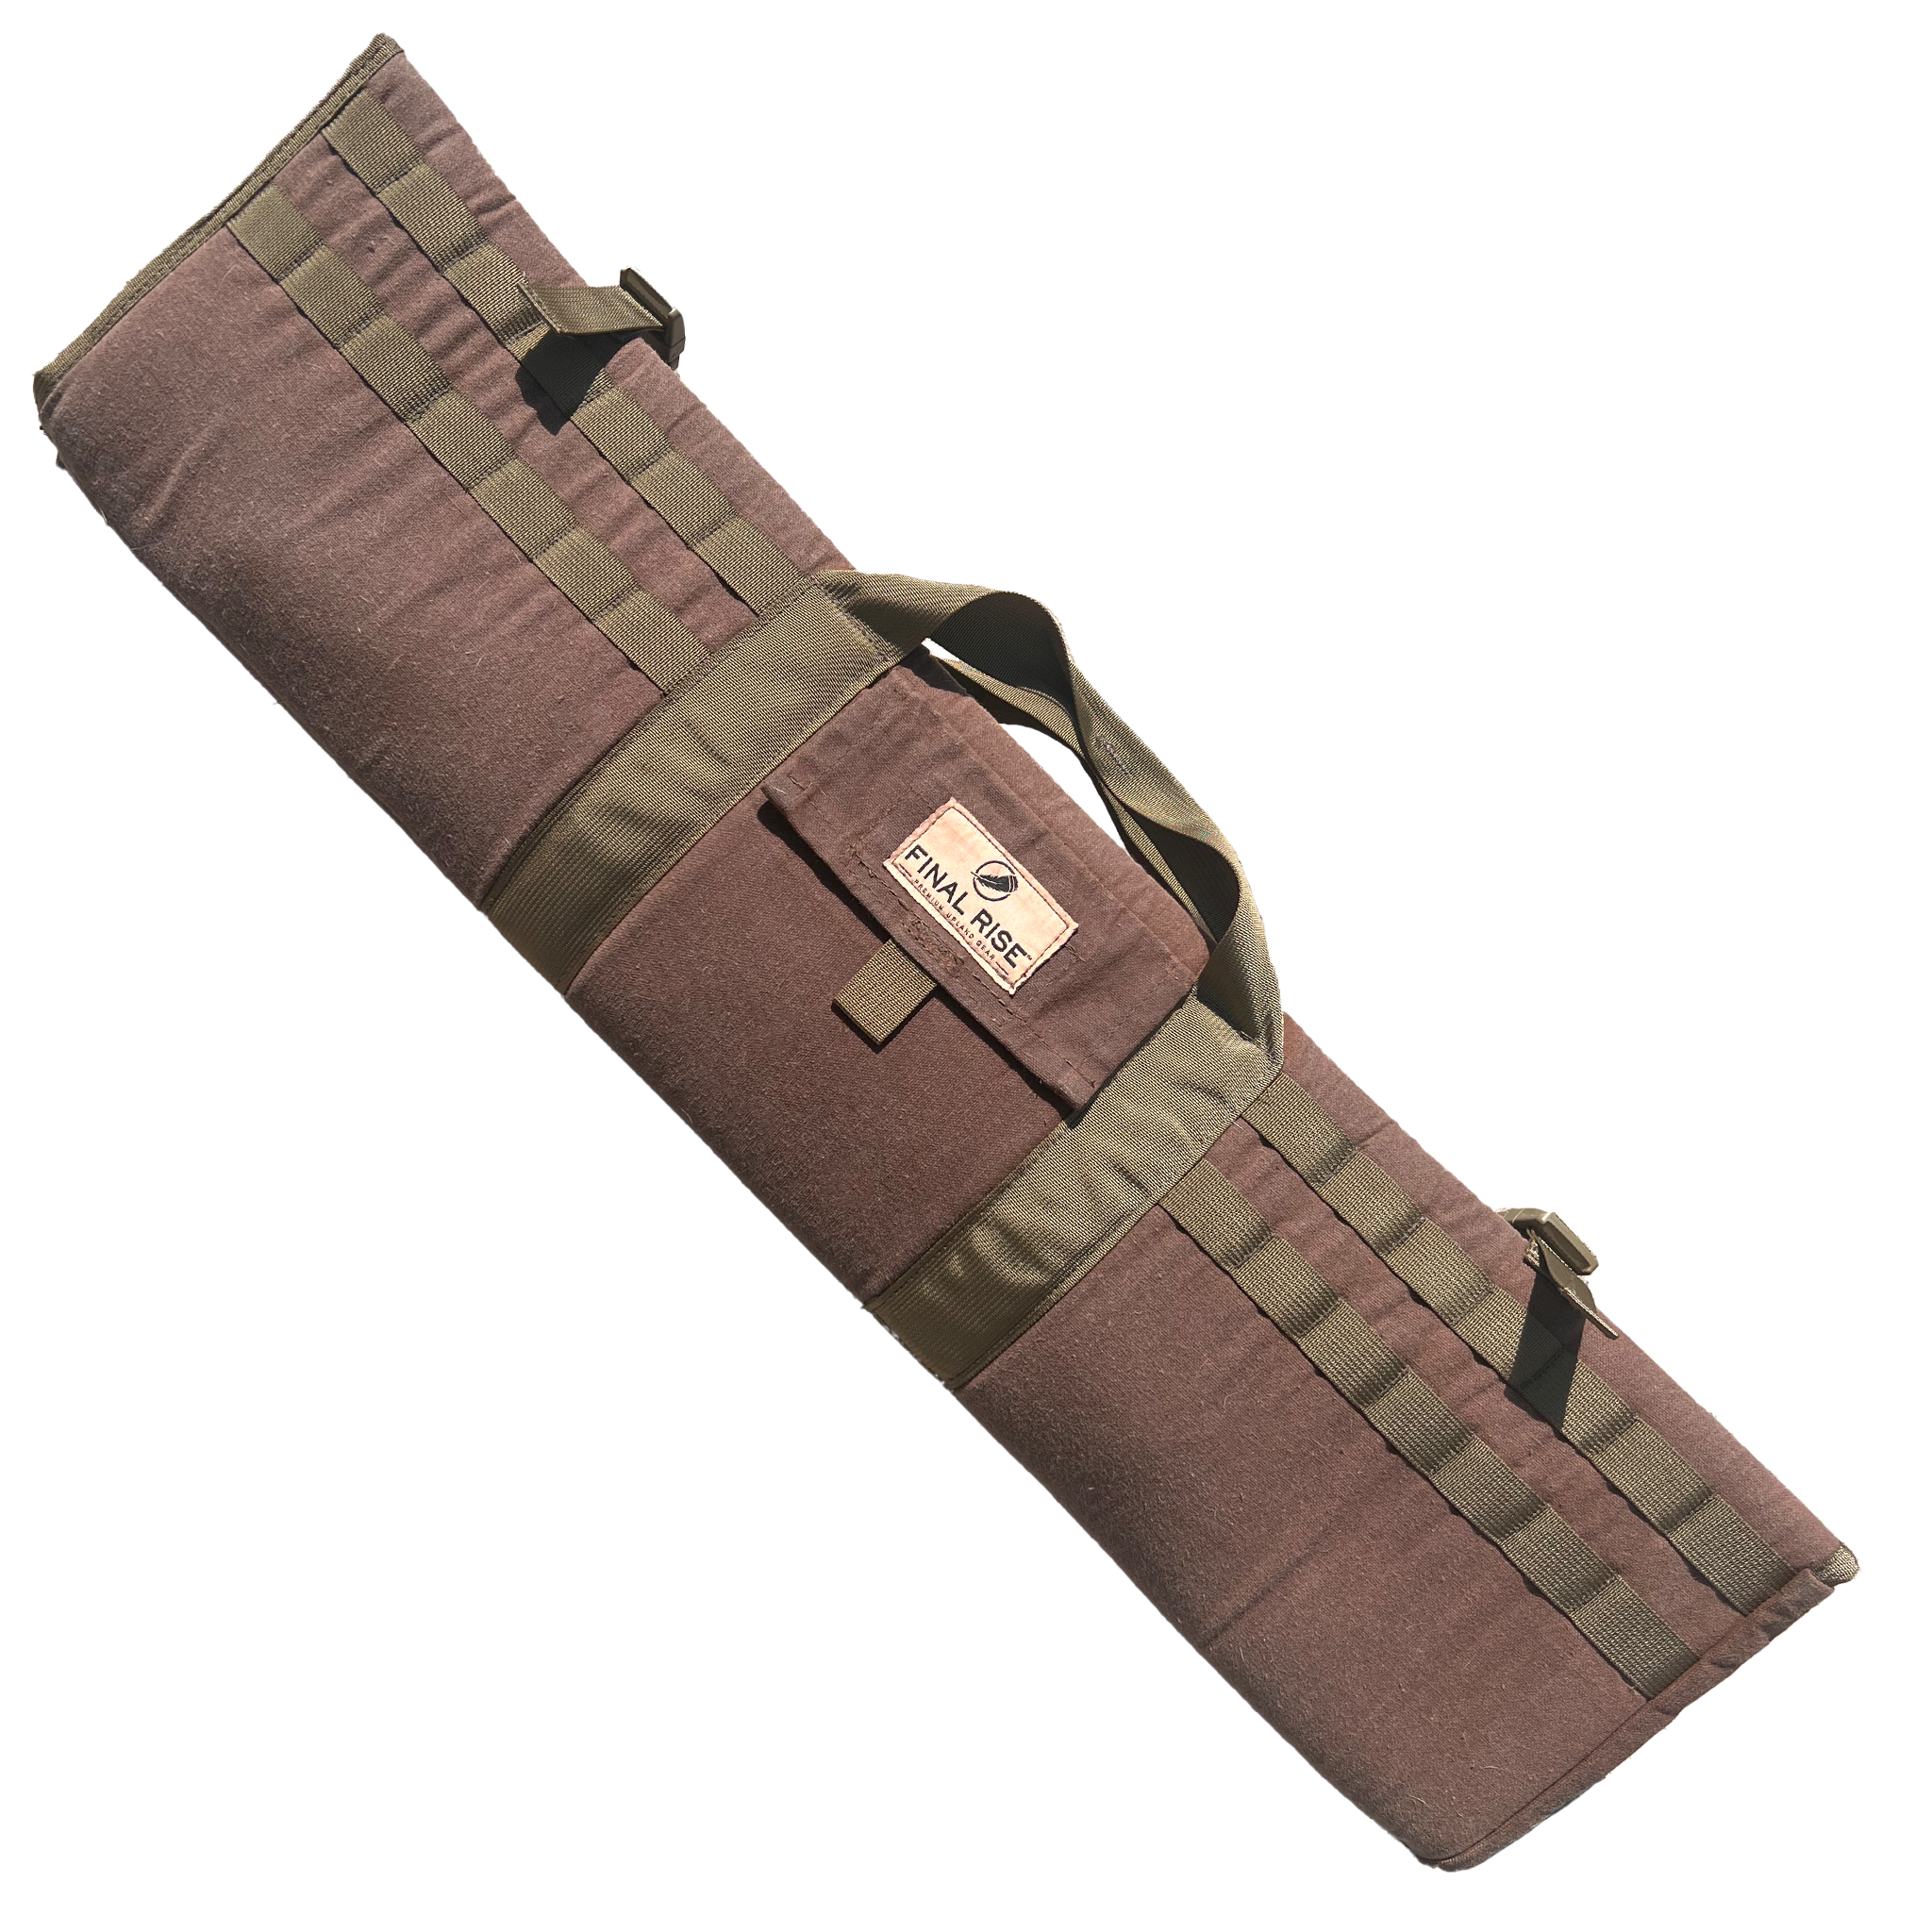
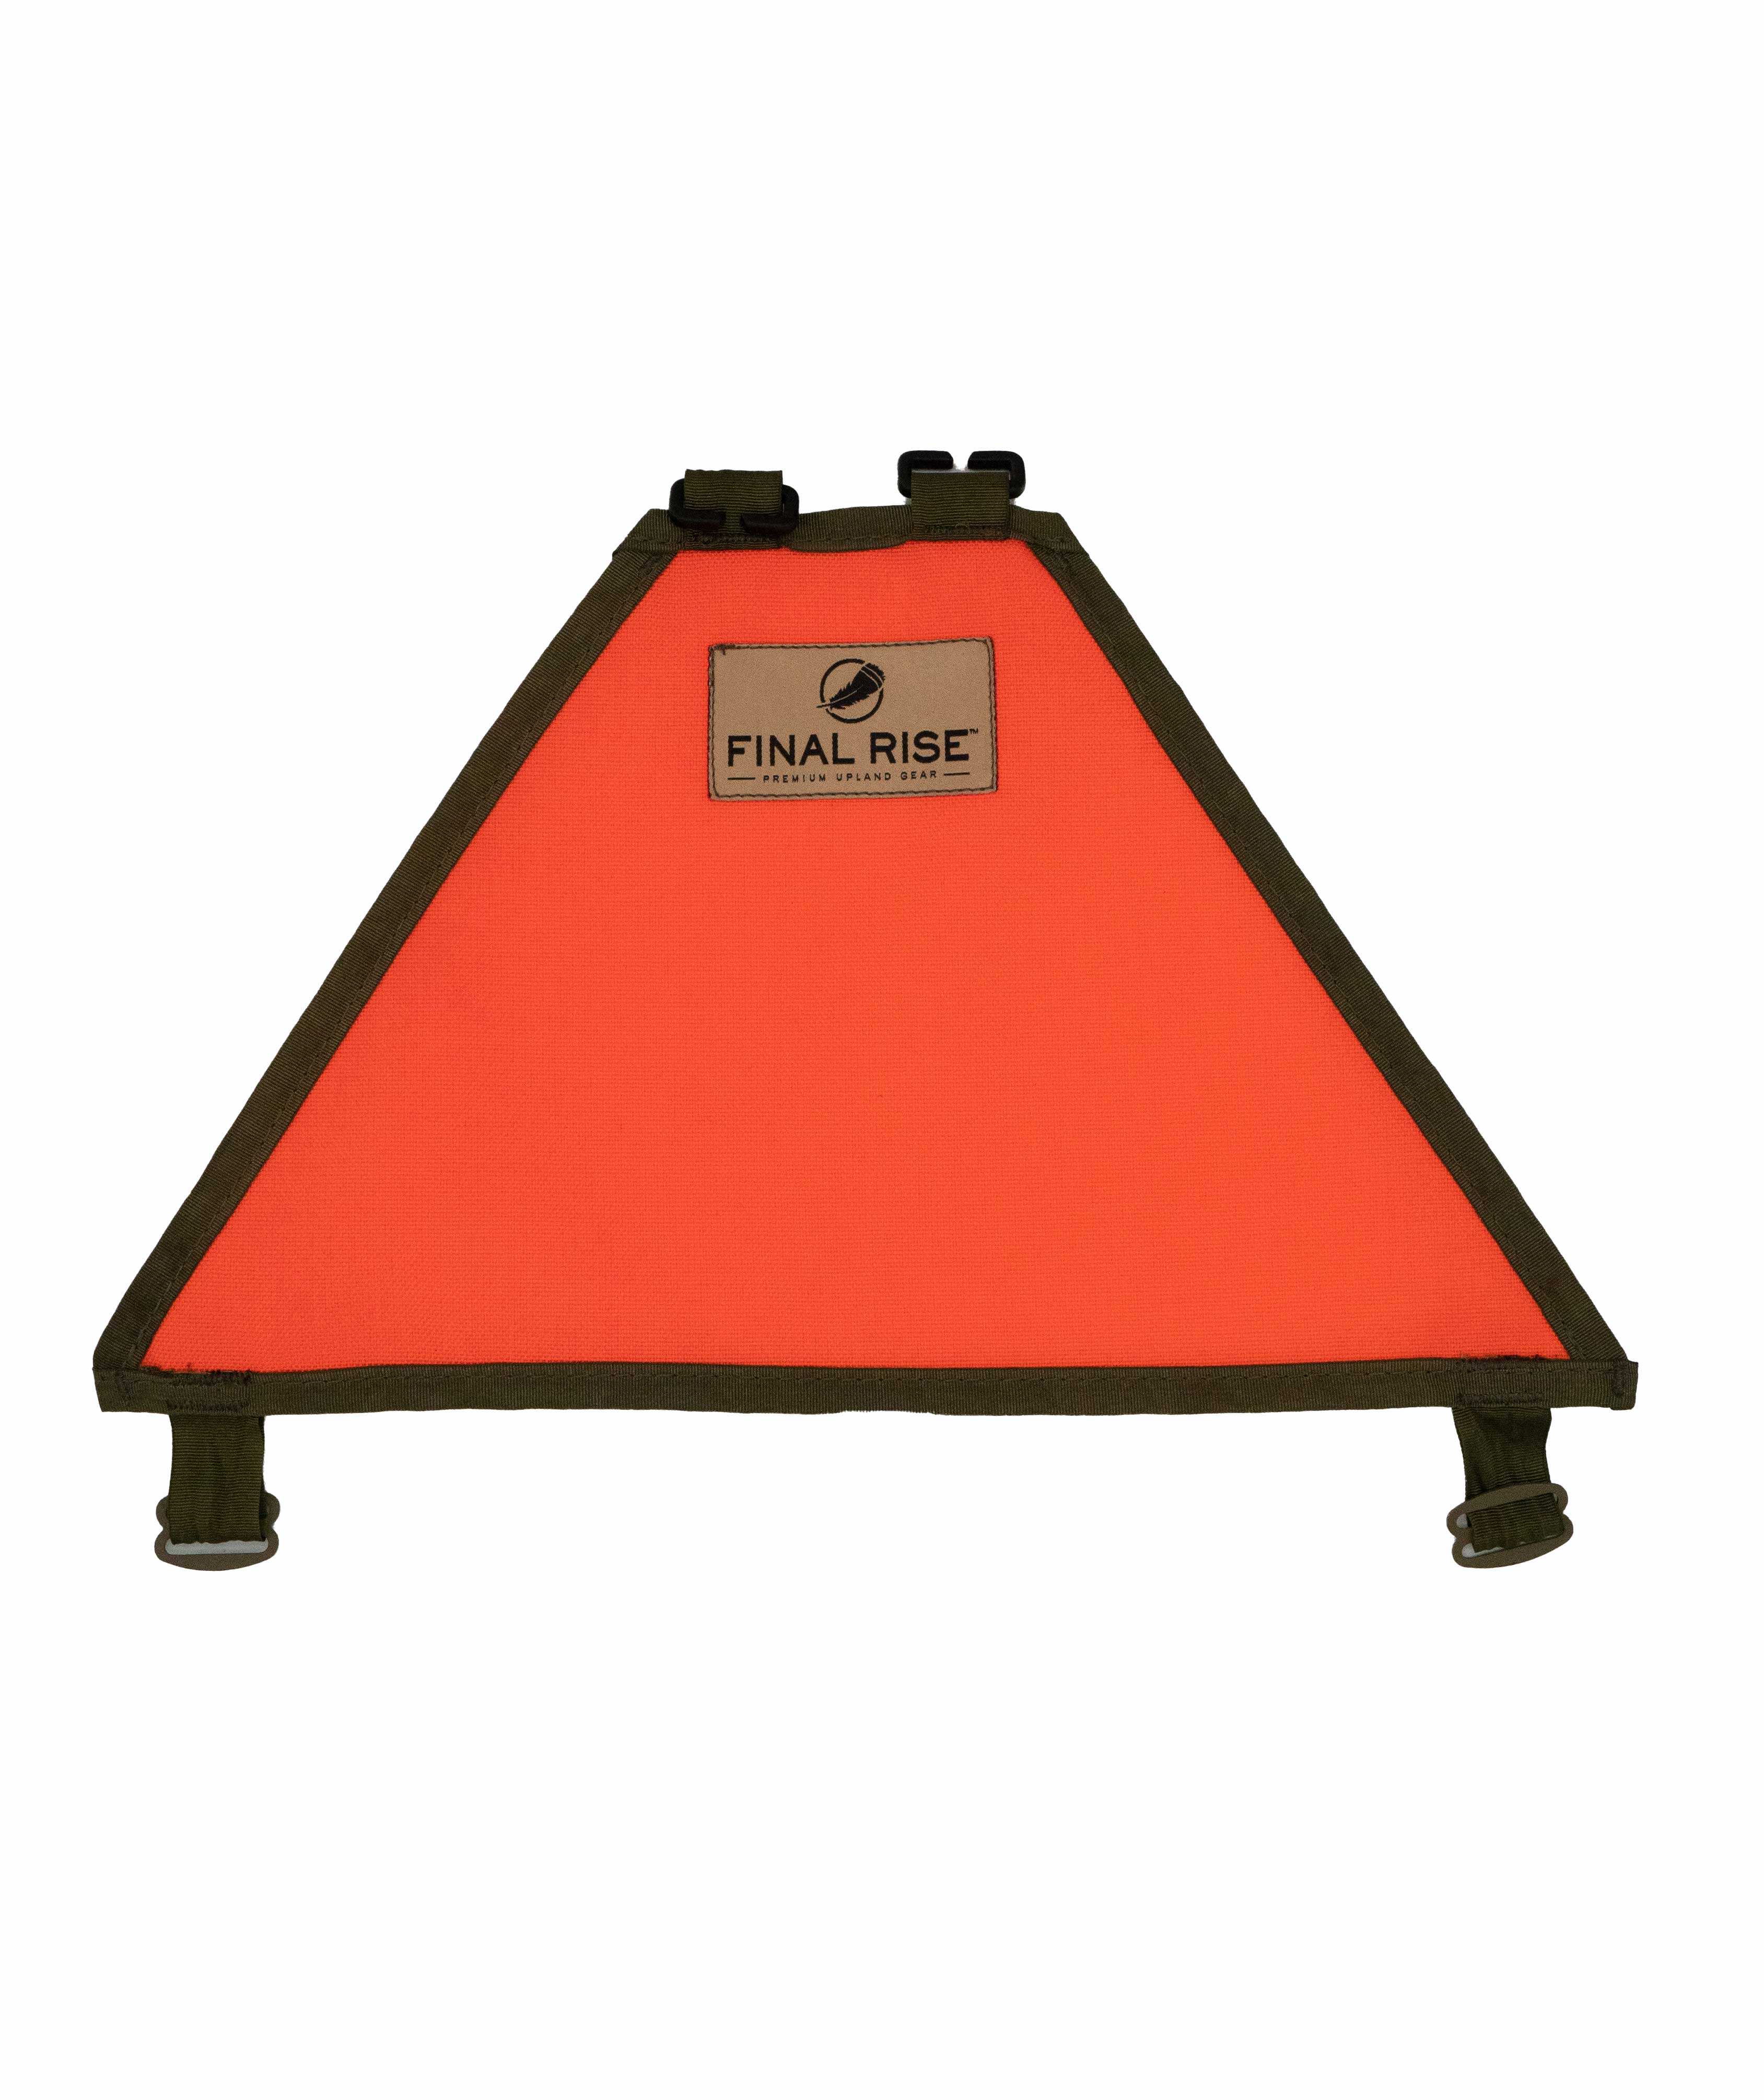
If you’re serious about showing up next season with zero issues, build a simple “end of season” routine and keep the essentials organized. A small dedicated pouch that lives with your hunting gear (rag, oil, pull-through, brush, swabs) makes it far more likely you’ll do quick maintenance after wet hunts—and that’s what prevents the big postseason problems. Two items to check out, both to keep your gun in tip-top shape during the season are our mesh pouch, side accessor pouch and our beautiful waxed canvas gun cases. You can see those here if you're interested:
Waxed Gun Case
Side Accessory Pouches
Mesh Pouch